
Introduction
WP Stagecoach, just from its name, offers WordPress users the ability to place their WordPress websites on wpstagecaoch.com to preview and fix all needed changes before importing it to their live sites. Therefore, in this piece, you will learn how to use the WP Stagecoach plugin for your WordPress website.
What does Staging mean in Web Development?
Staging is cloning a website that is independent of a live site that visitors can see. The staging website looks just like the live website but offers you safety as it is placed in a staging area while you are working on it.
Why use a Staging Environment?
- It allows you to modify your website without affecting your live site. So, no downtime and your audience can keep accessing your website while making those changes in maintenance mode.
- SEO ranking is not affected while trying new changes and settings to your site since search engines won’t be able to index your staging website.
- You are also able to run tests on your site before going live.
- You can redesign or revamp any website with a staging site easily.
Development and Maintenance
Whether the website is in the development phase or the Live phase, WP Stagecoach offers you limitless features to carry out any routine check you need to your website.
WP Stagecoach is a one-click WordPress staging solution known to work on every web host and doesn’t overwrite your database during import. You can troubleshoot for days during the maintenance while e-commerce and other plugins take orders or registrations. This unique WordPress staging plugin uses a ‘database merge’ feature—not an overwrite feature—to ‘push’ your updates live in one click, and you never lose your data or re-do your work again!
How to Create a Staging Site with WPStagecoach.com
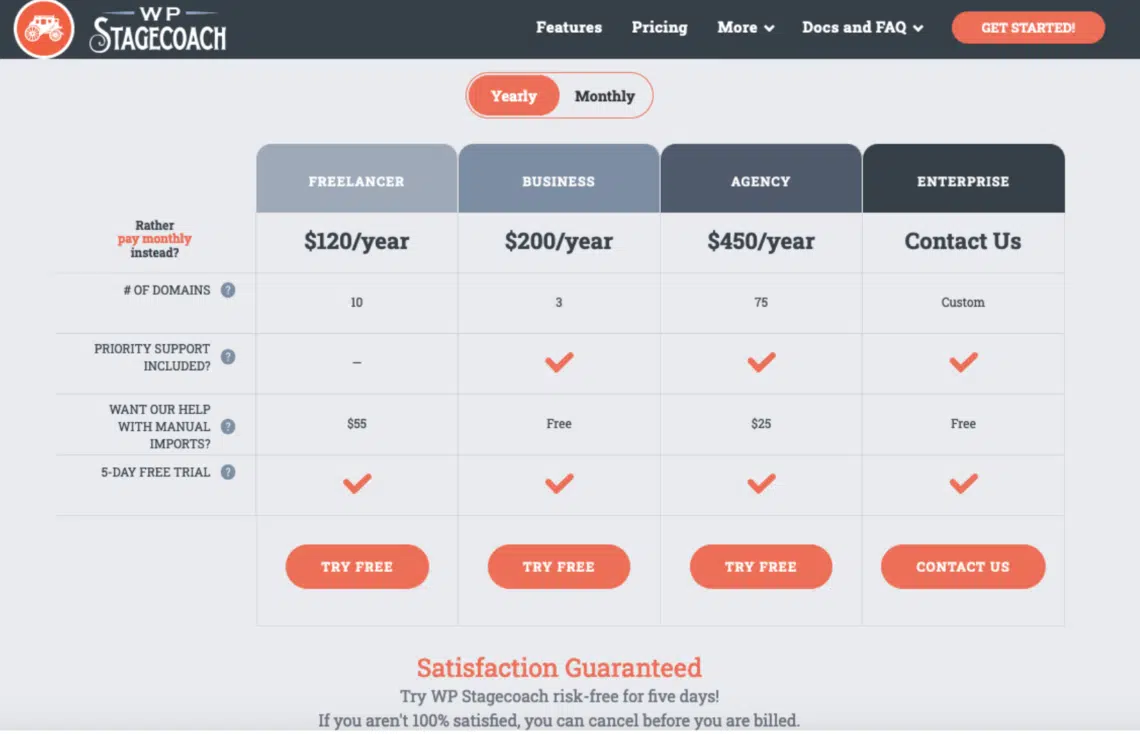
After completing your purchase, the next thing to do is download the WP Stagecoach plugin, either from your Account page or from the link sent to you in your purchase confirmation email.
Download the Plugin and Install:
Visit Plugins –> Add New, click on Upload Plugin. Locate your copy of WP Stagecoach, then click ‘Install Now.‘ After installing the plugin, click ‘Activate Plugin.‘
Enter your License Key:
In your dashboard menu, click on WP Stagecoach in your dashboard menu. Fill your username (the one you chose when you signed up for WP Stagecoach) and API key. The API key can be found in your purchase confirmation email or on your Account page.
Creating the Staging Site:
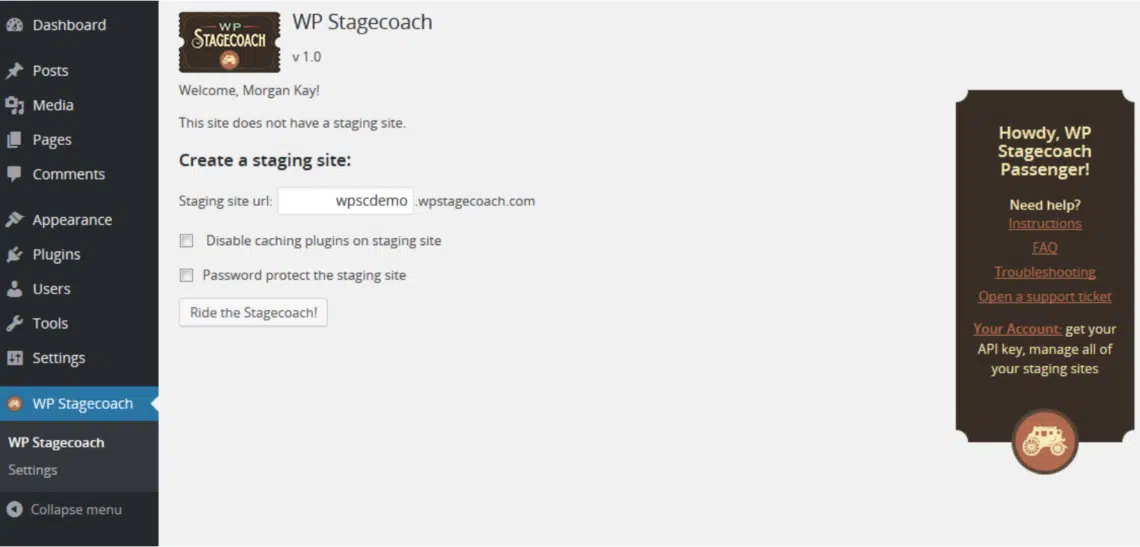
To create a staging site, click on WP Stagecoachin your dashboard menu. Click Ride the Stagecoach! If you want, you can adjust some options before you create your staging site: After you click Ride the Stagecoach, the WP Stagecoach will go through a series of steps to develop it.
Editing the Staging Site:
Once the staging site is done, a URL would be generated for you, where you can view your site. You can sign in to your staging site’s WordPress dashboard using the same username and password currently used on your live website. It is possible to also connect to your staging site via FTP or SFTP using the credentials displayed on the WP Stagecoach page.
Use this duplicate of your site for testing your changes: Install your plugin customization, theme changes, WordPress core update or plugin update on this site. Your live site stays unaffected. Visit all relevant pages and flows like user registration and check if everything is ok. We at Testup can help you doing this automatically. If yes, you can proceed. If no, you have plenty of time to solve the issue since your live site stays untouched.
Importing Changes Back to Live Website:
Go to WP Stagecoach –> Import Changes. Click on Check for changes to see what changes have been made on your staging site. When completed, you can choose from three different kinds of import; One-click, Advanced, and Manual.
Cleaning Up and Deleting your Staging Site:
Once the import is finished, check your live site to make sure that the changes are imported. The moment that is confirmed, you have two options; Clean up and delete staging site OR Clean up options, which are quite straightforward.
Conclusion
WP Stagecoach offers you great user-friendly features to successfully stage any WordPress website, and more so, it is very compatible with all hosts.
