
Introduction
React is the most popular JavaScript framework on the internet. According to a survey by statista.com, 36% of web developers use React to develop web and mobile applications. React is currently being used in websites of popular brands such as Netflix, Google, Facebook, Quora, Instagram, Gitlab, and Yahoo.
React has also been referred to as the “future of frontend development” because it is easy to learn, deploy, and leverages Flux design pattern to manage client and server side interaction which is different and more effective than the old Model-View-Controller (MVC) design pattern. Hence, it is projected that more web and mobile applications will be developed with this frontend framework in the future.
There’s no doubt that testing plays a major role in the efficient development of web and mobile applications written with React. With Testup’s Automated testing, developers can save time and stress writing tests for all the features of their web and mobile application, no coding required.
In this article, we would be using Testup to perform Automated Testing for a React-based web application.
Testing a React-based Web application (Netflix)
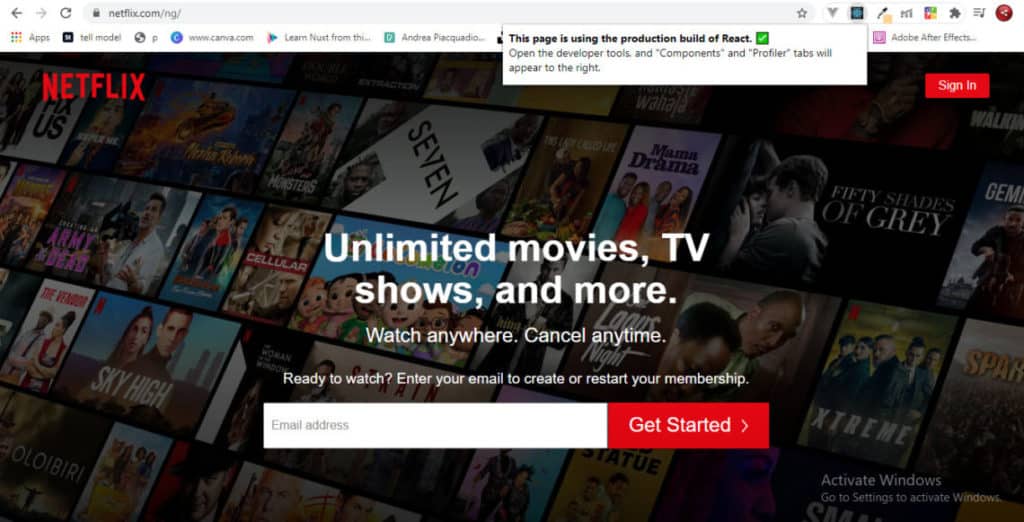
Netflix, the world’s most popular movie-streaming platform was built with React. You can confirm this by simply searching for and installing the React Developer Tools extension for Google chrome. Visit https://netflix.com and you will see the React icon appear as active. That is an indication that React was used to build Netflix as seen in Figures 1a and 1b.

Now let’s get started with testing the web application.
Step 1: Set Up the Test
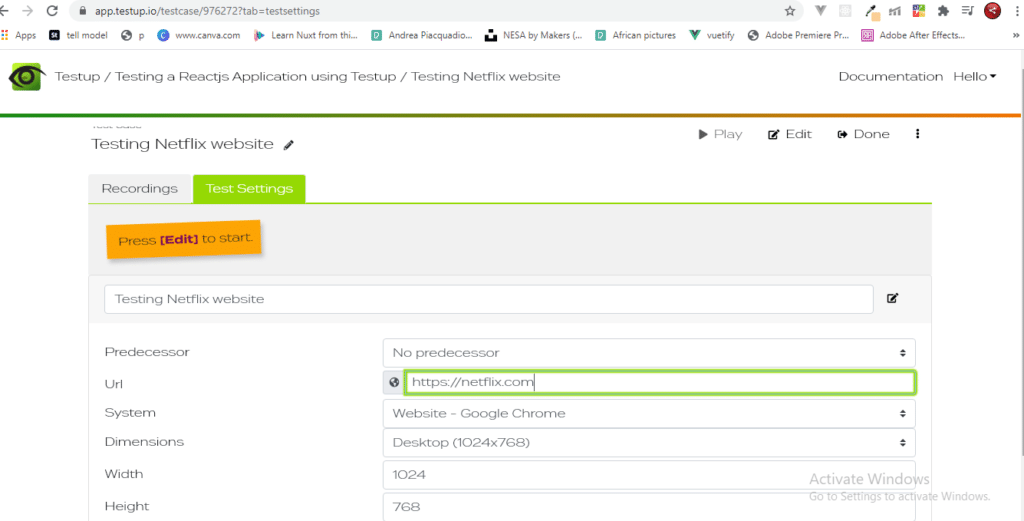
Signup or Login to your Testup account. Click on Go to App, which is displayed at the top right-hand corner of the page. Then, click Create Project; afterward, click Create Test. Complete the necessary details requested under the Settings tab. These include the website’s URL and the name of the test case. For this test, the name of my test case would be ‘Testing Netflix Website’ and the website URL will be https://netflix.com.
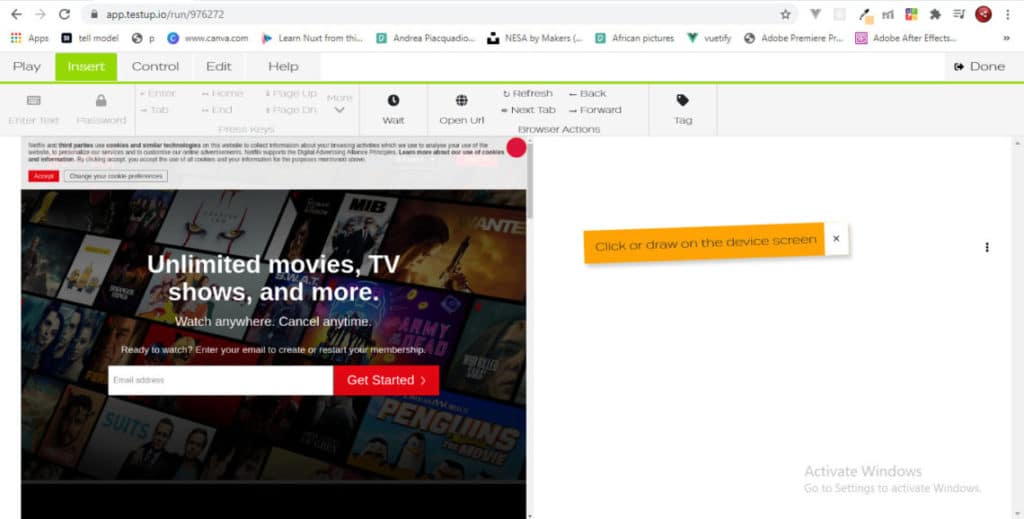
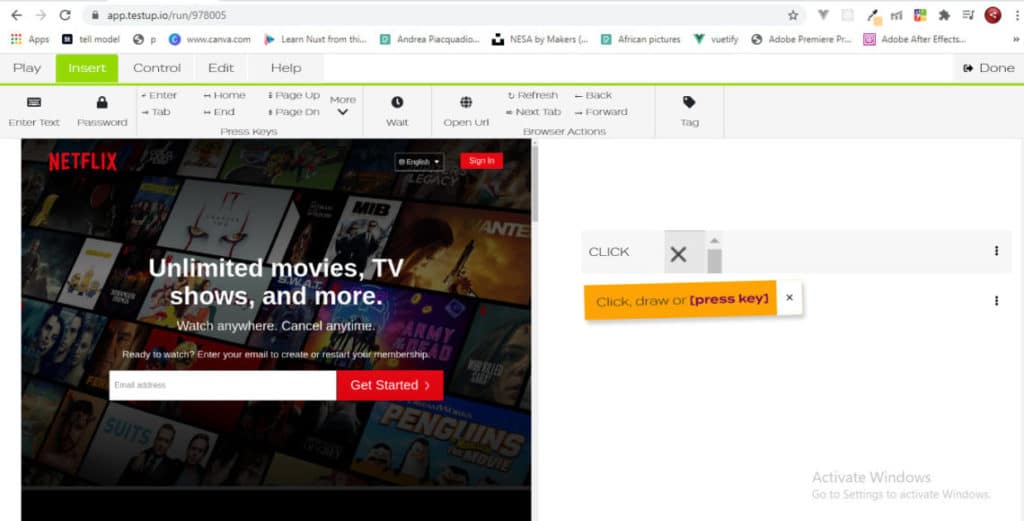
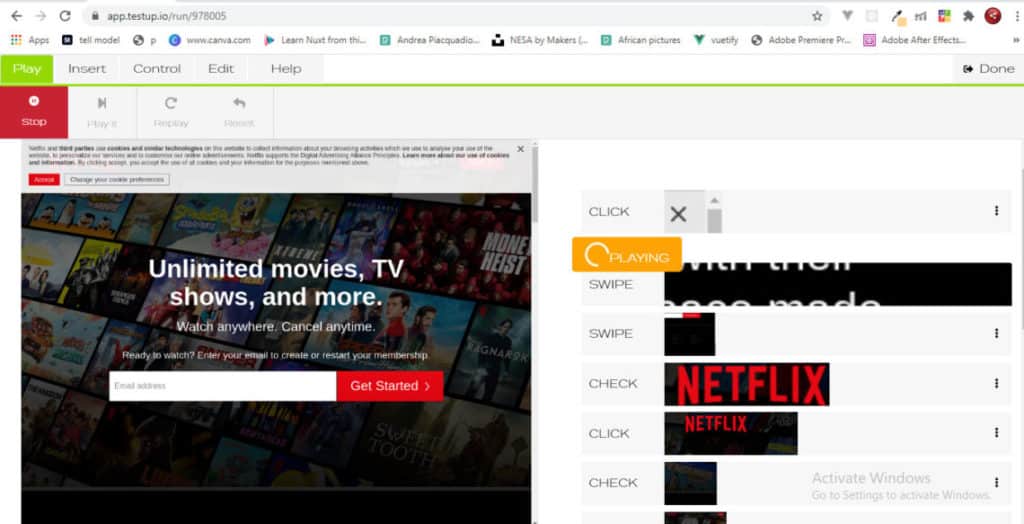
After this, click Edit to begin the testing. The testing page appears as follows; with the Netflix website loaded on the left-hand side while the Actions list is on the right-hand side. The editor menu appears at the top.
Step 2: Start Testing
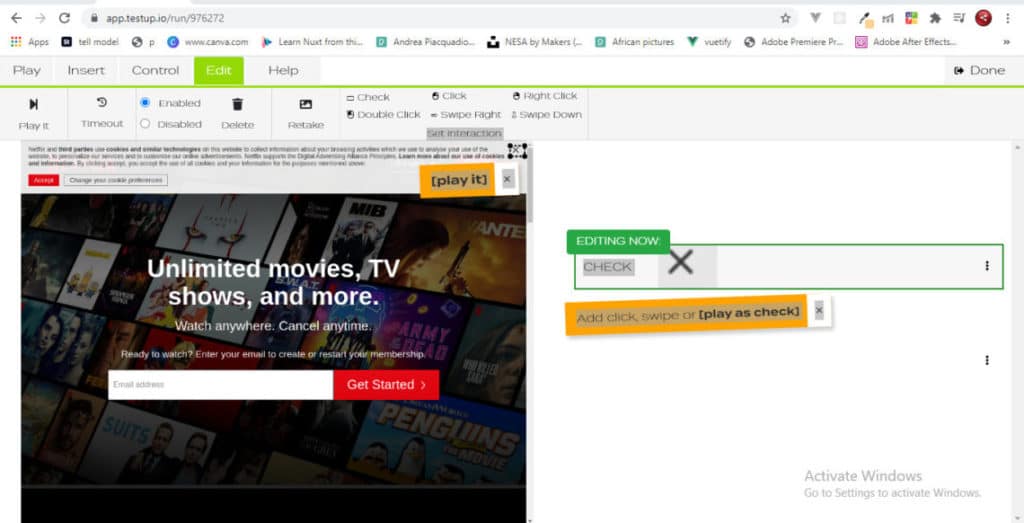
Recording a test usually starts with a check to see if the website was properly loaded. To do this, you can select an anchor area on the website and click play as check. However, because Netflix website has a disclaimer popup that shows upon load, we would be testing our anchor area with that. Click/drag on the close icon then click play as check as seen in figure 4.
Notice that the disclaimer popup closes after this has been done as seen in Figure 5 below
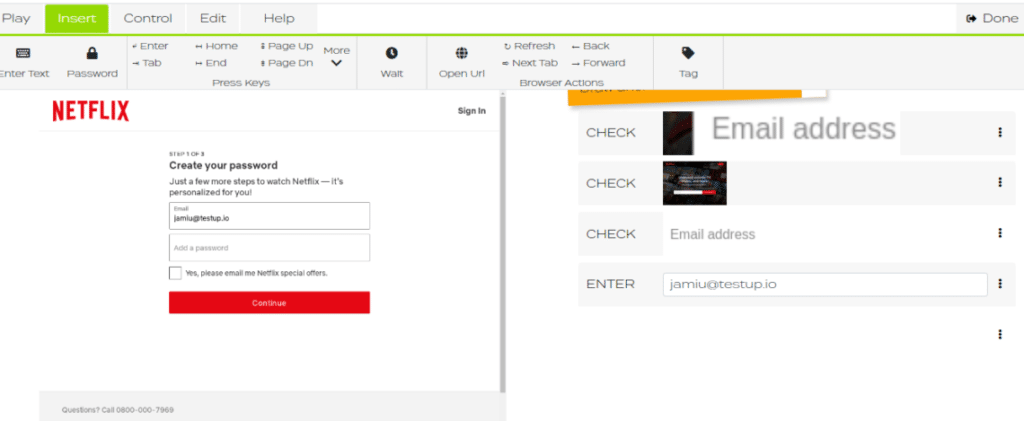
Now let’s check if the text input field and buttons on the page are working. To do this, we select click/drag on the text input field.
Afterwards, we can enter a value in the text input field by typing an email address, say jamiu@testup.io, and pressing the Enter key in the Editor Menu above.

We notice that the page then changes to the next page of the onboarding process as shown in Figure 7 below. This indicates that the text input field is active and is working.
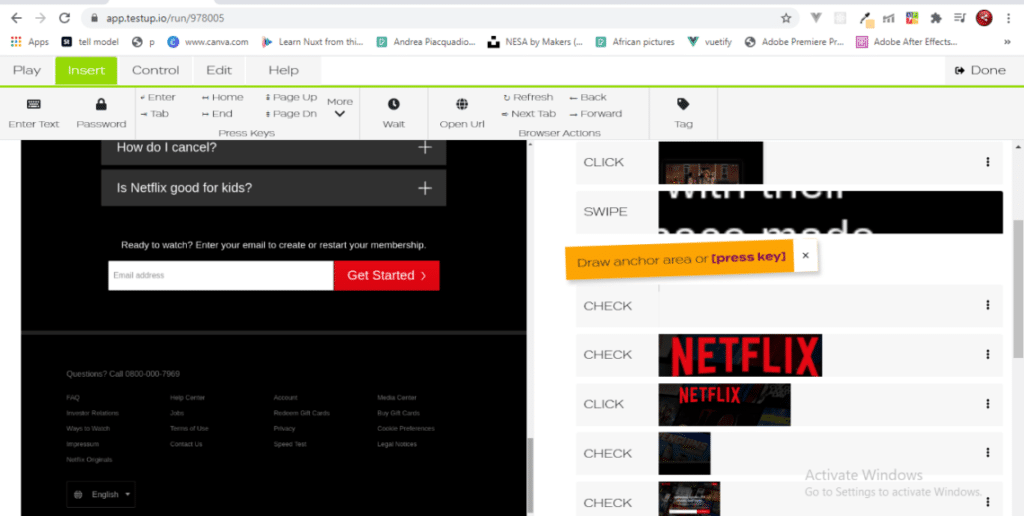
I would also like to test if the scroll bar of the Netflix website works. To do this, I click/drag on the scrollbar on the far right side of the website. The line between the two circles shows where I am scrolling from to where I wish to scroll to as seen in Figure 8.
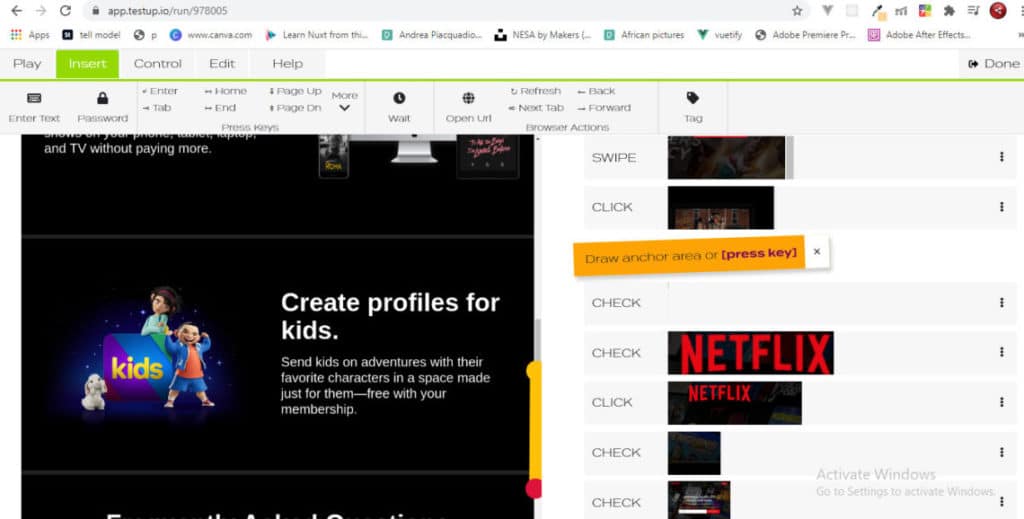
Afterwards I click on play it or wait for the action to be played automatically. Notice that the view changes from one part of the website to another. Hence, we can verify that the scroll bar for the website works as there is a navigation to another part of the website as seen in Figure 9.
Step 3: Automate the Test
Finally, you can get previously executed tests to run automatically. To do this, navigate to the Editor Menu and click on the Play button and then press the replay icon button. All previously executed test will then execute on their own automatically.
Conclusion
To perform testing in React applications, developers often use 3rd party dependencies such as Mocha or Jest. However, for most React developers, testing code is usually a very boring, time-consuming, and stressful process. This is because it deviates from the design and implementation of user interface components which is the fun part of frontend development. With Automated Testing, you can bypass the downtime of testing and still make your coding experience fun. Fortunately, tools like Testup offers an affordable option without compromising the quality of the test. Getting started is easy, and you can start with a free trial; click here to get started.