One of the prevalent issues in WordPress is the image upload issue. Fortunately, it is quite easy to fix. Follow this article to the end to find out how.
Change file permission for upload folder
When your media gallery displays blank, here is a way to fix it.
Access WordPress files using the FTP. Locate wp-content; open the “Uploads” folder; right-click on it and choose File Permissions. Then set the number to 744; mark “recurse into subdirectories”, select “Apply to directories only” and click OK. Afterward, reload your library and try uploading an image. Note that in some cases, setting to 744 may not work; therefore, you can repeat the process but set the permission to 755.
Resize and Rename Image OR Increase Max file size
If you are unable to upload one image while others upload properly, there are two quick fixes for this. If it’s because of the image size, that means you need to resize the image. Also, you may need to increase the max file size.
Meanwhile, it may also be due to the name of the image as WordPress doesn’t allow special characters like ($, &, #, *, …); in that case, you will need to rename the image.
Increase the memory limit or Set Thread to on Processor
If you see an HTTP error when uploading an image, increasing the WordPress memory limit or setting an image processor to use one Thread can help fix the issue. To increase the WordPress memory limit, access your site with FTP; open the folder containing the WordPress files and locate wp-config to input the code: define(‘WP_MEMORY_LIMIT’, ‘256M’)
Other Solutions

The other solutions you can try include:
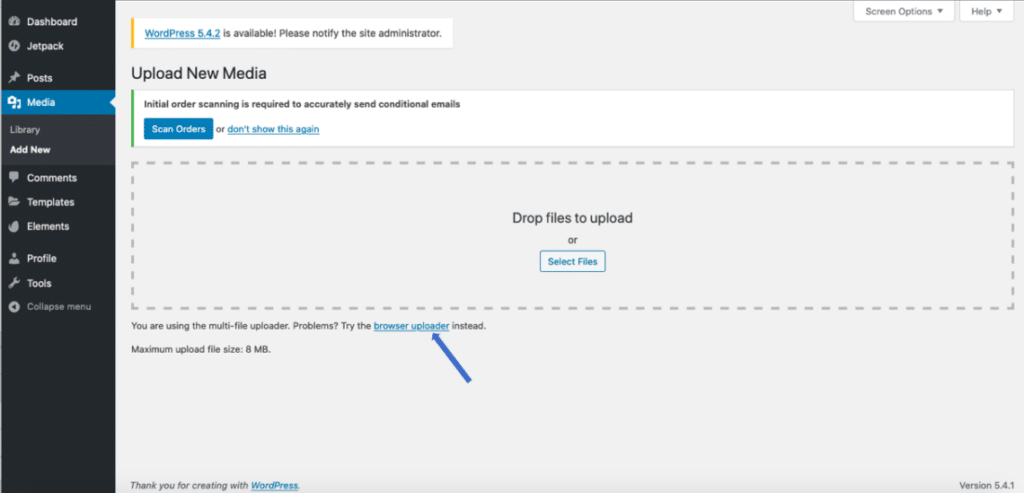
- Use your browser uploader for your image. In your WordPress dashboard, go to Media > Add New and click browser uploader.
- Clear browser and WordPress cache.


