Have you faced an issue with WordPress not sending emails properly or at all? You are in the right place at the right time, as this article will show you how you get email up and running on your WordPress website.
Test Email on your Server
First, run a test on your WordPress site with a free Email Check plugin provided by WordPress itself. By running this test, you will know if your WordPress installation and the server can send emails. After installing the plugin, go the Tools menu under your WordPress dashboard and click Check Email. Enter an email address and click Send test email.
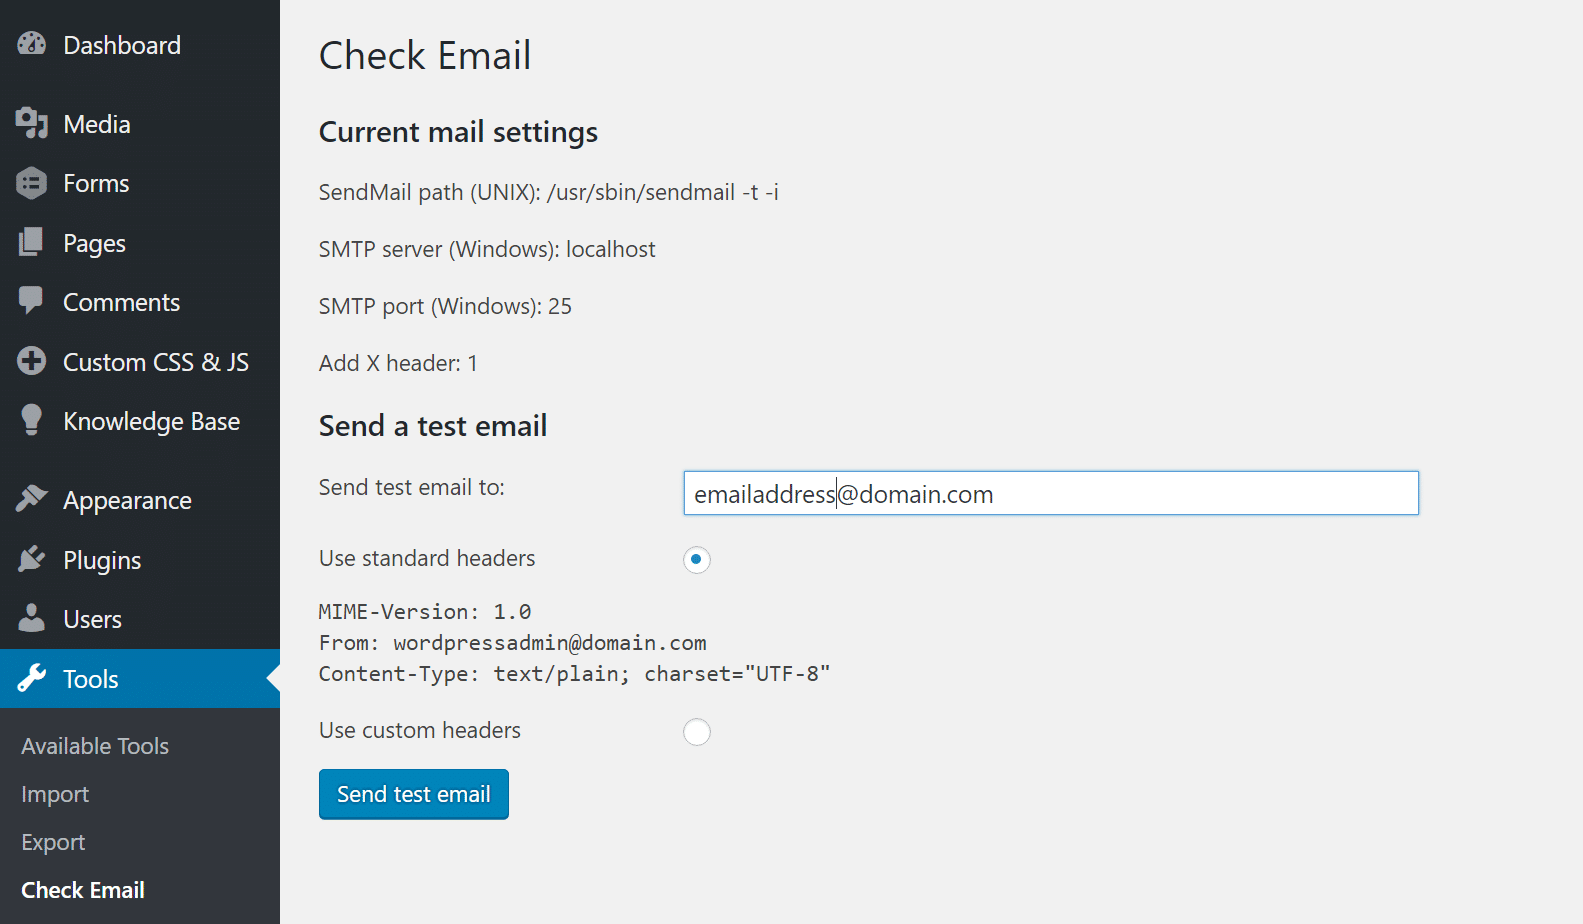
Check your email to see if you get the test the email. The subject of the email will be “Test email from https://yourdomain.com.” You should also check your junk or spam mail folder. If you find the email, then the issue of emails not sent in the past is probably due to misconfiguration or an incompatibility. You can check your WordPress mail settings or contact your plugin developer for help.
Use SMTP to Send your Emails
Here is another way to resolve the email issue in WordPress. There are several SMTP providers that you can choose from; they include Gmail, Mailgun, SendGrid, WPforms, etc. All you need to do is to download the SMTP plugin of any of these providers from the WordPress repository.
To install the plugin, go to Add New Plugin, click the upload tab, browse for the plugin file, click Install Now and hit the activate button.
Using Gmail SMTP
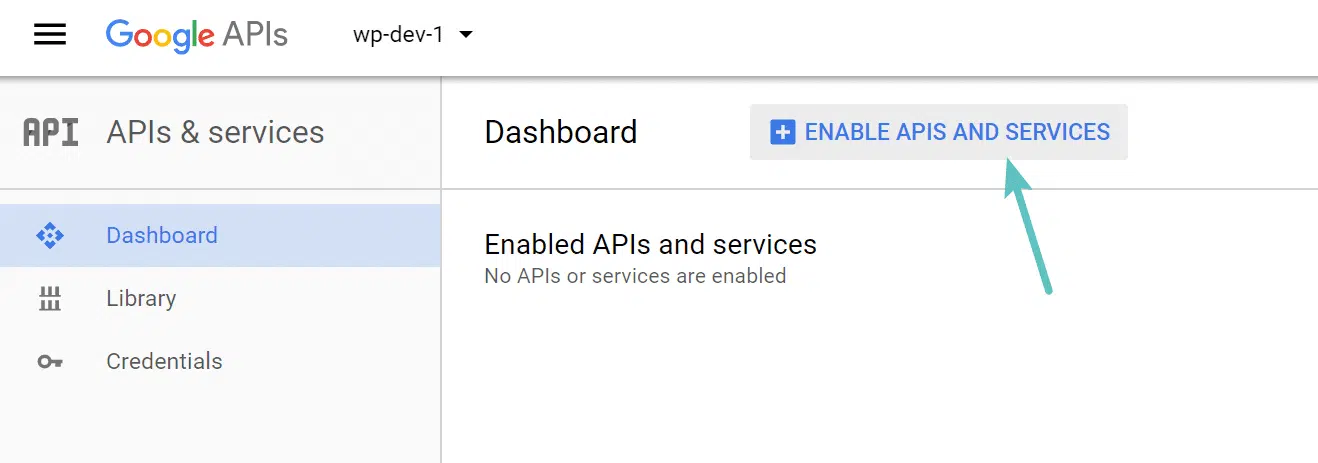
For Gmail SMTP, you need to authorize your WordPress installation to use Google’s servers. To do this, you have to create a set of secure credentials. Visit console.developers.google.com, log in to your Gmail account, Click My Project, and click the Add (+)to create a new project. In the dashboard of the new project, click Enable APIs and Services.
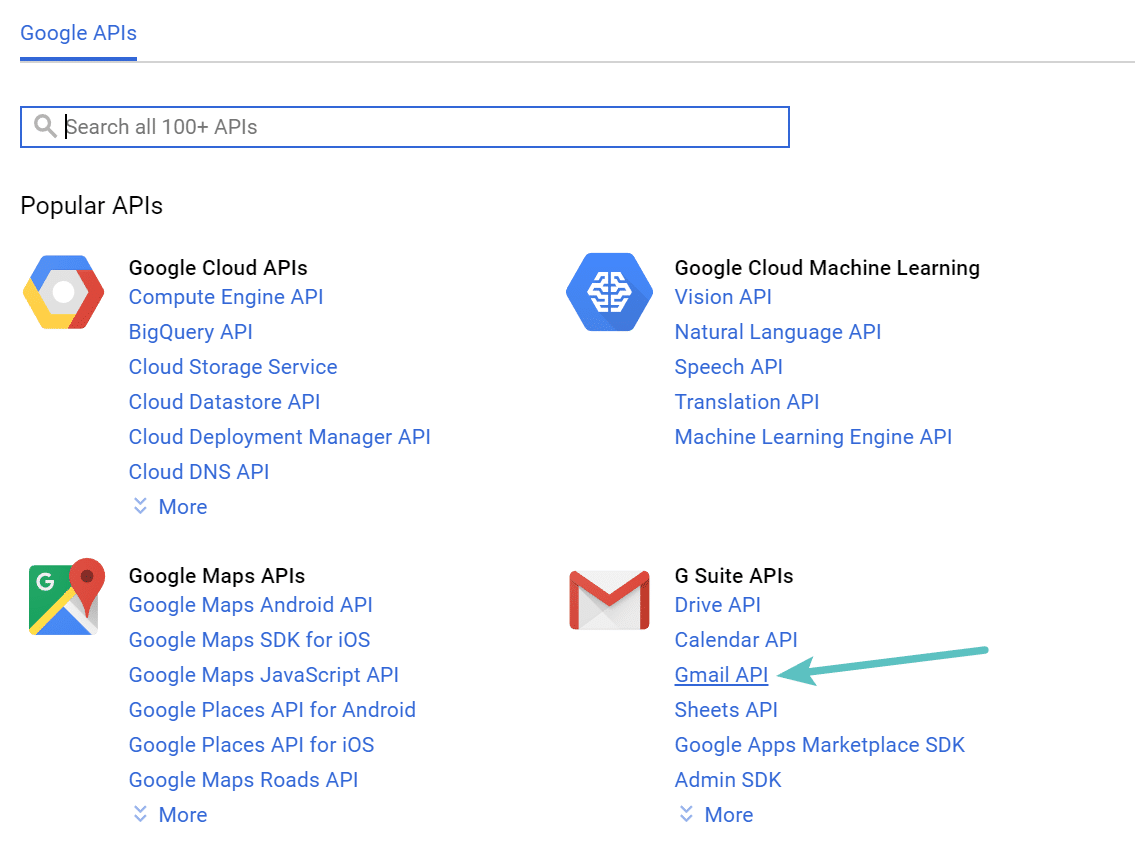
Click on Gmail API under G Suite APIs. On the next screen, click Enable.
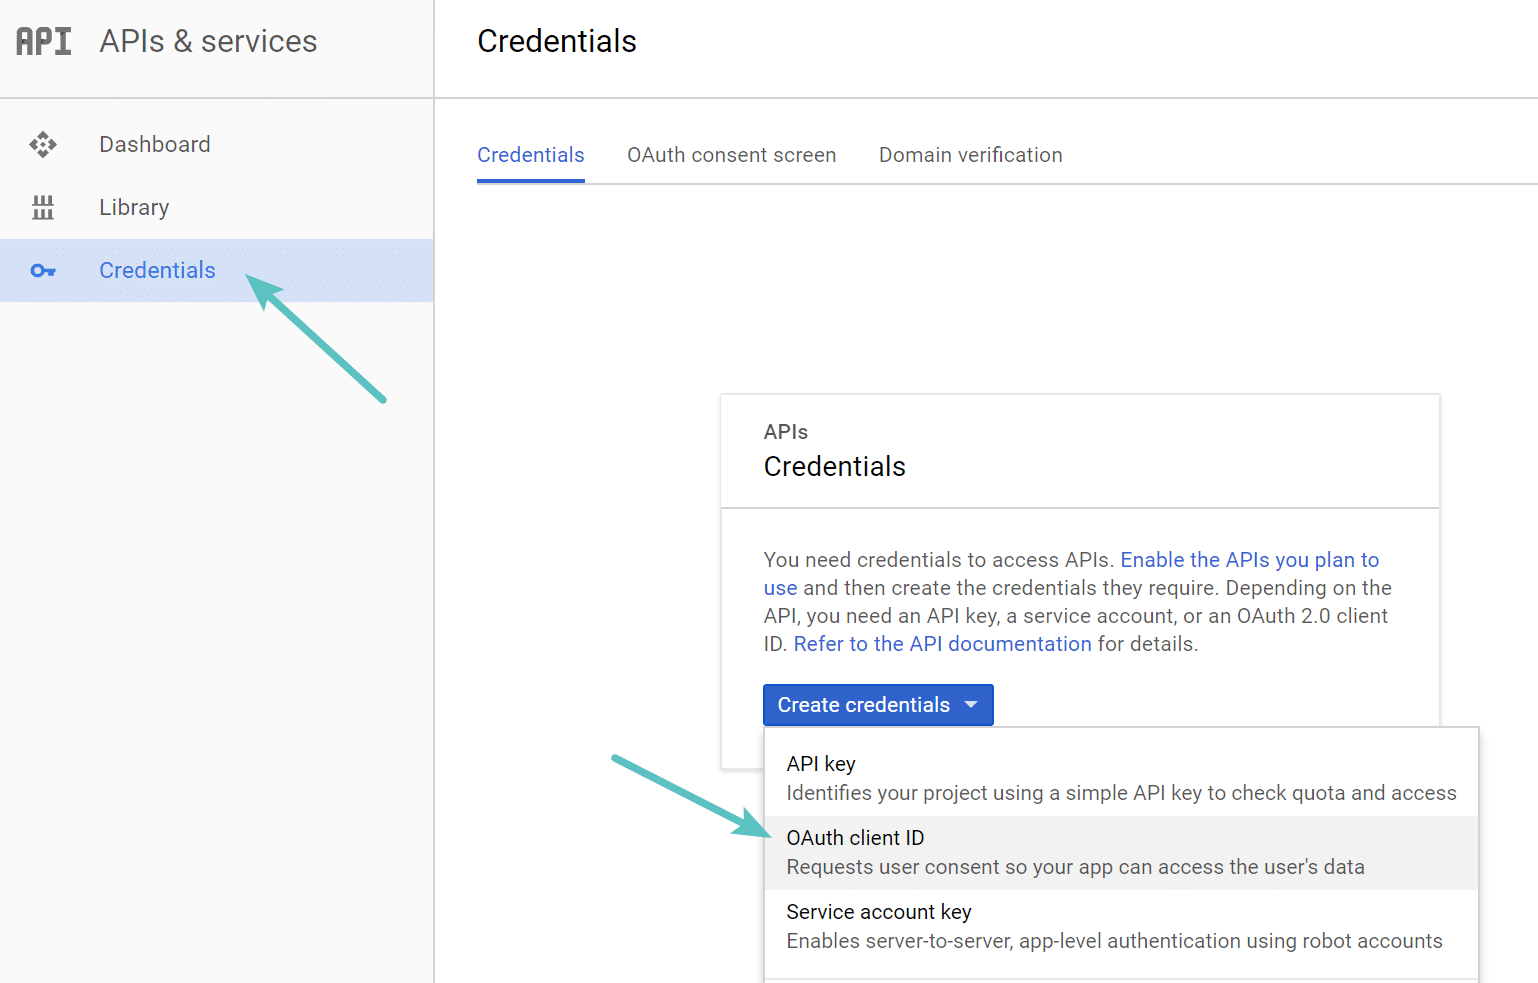
Next, click on Credentials on the left-hand side and under Create credentials, choose OAuth client ID. Then, click Configure consent screen.
Afterwards, input your email address, a product name, and a privacy policy URL. On the next screen, choose web application. Enter a name, paste the Authorized JavaScript origins URL, and the Authorized redirect URIs from the Gmail SMTP wizard on WordPress. Then click Save.
Once you do this, you will get your client ID and client secret. Copy and paste them into the fields on the Gmail SMTP wizard in on WordPress. Click Next and then, Finish. That’s all.
